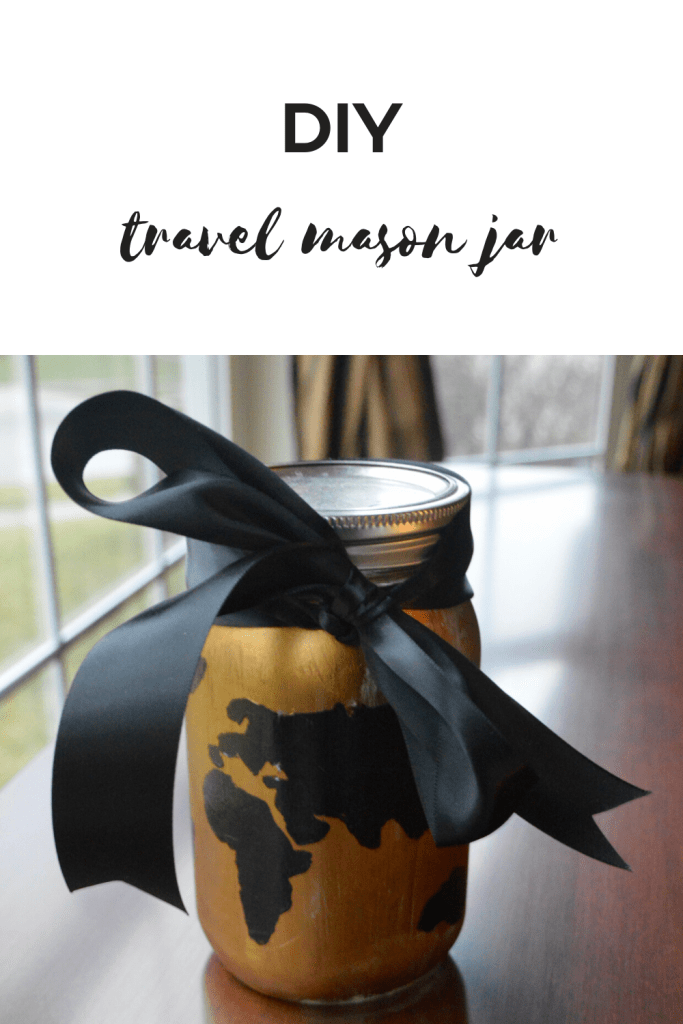
DIY Travel Mason Jar
I’m beyond ecstatic for my trip to Europe this summer … just take a look at my Pinterest account. But at the same time, there’s a million things I need to accomplish before I hop on that plane, and one of those things is saving money. With some downtime, a spare mason jar and wanderlust on the brain, I set off to make a travel mason jar to inspire me to save money over the next few months. Whether you have an upcoming trip or a dream voyage floating in your head, this DIY travel mason jar is sure to inspire you and help you save for your big adventure.
Approximate Time Needed:
1-2 hours
Items You’ll Need:
- Large mason jar
- Acrylic paint (2 different colors)
- Masking tape
- Old newspaper or brown paper bag (so you don’t get paint everywhere)
- Paper towel (to clean up any smudges)
- White card stock paper
- World map outline (I used this one)
- Ribbon


Tools You’ll Need:
- Sharp scissors
- Paint brushes (one large, one medium)
- Printer

How To:
- To begin, print out a world map outline onto white card stock paper.
- Trim down as necessary. Wrap the paper around your mason jar, and make sure it fits properly. Set aside.
- Choose your base color and paint your jar with a large brush.
- While your first coat is drying, carefully cut out the shaded parts of your world map outline. This can get tedious so take a deep breath and put some tunes on because if you master this, you can bet your travel mason jar will look fab.
- Once you’ve finished cutting out the world map stencil, consider adding another layer of the base coat. Give ample time for this base coat to dry. (I let mine dry overnight.)
- Carefully wrap your cut-up world map stencil around the jar snugly and carefully put into place with masking tape. If any part of the card stock juts out, roll a small piece of masking tape to make it sticky on both sides and place it behind the protruding area.
- Then take your smaller brush and use your second (preferably darker) color to fill in the world map stencil.
- After you let it dry, carefully remove the stencil.
- If any of the acrylic paint begins to peel off, slow down. Push it back down on the jar and go over the tear with another layer of base coat and a small paintbrush.
- Finally, add a ribbon around the lid of the mason jar. Consider cutting a slot for coins on top of the lid. And voilà!
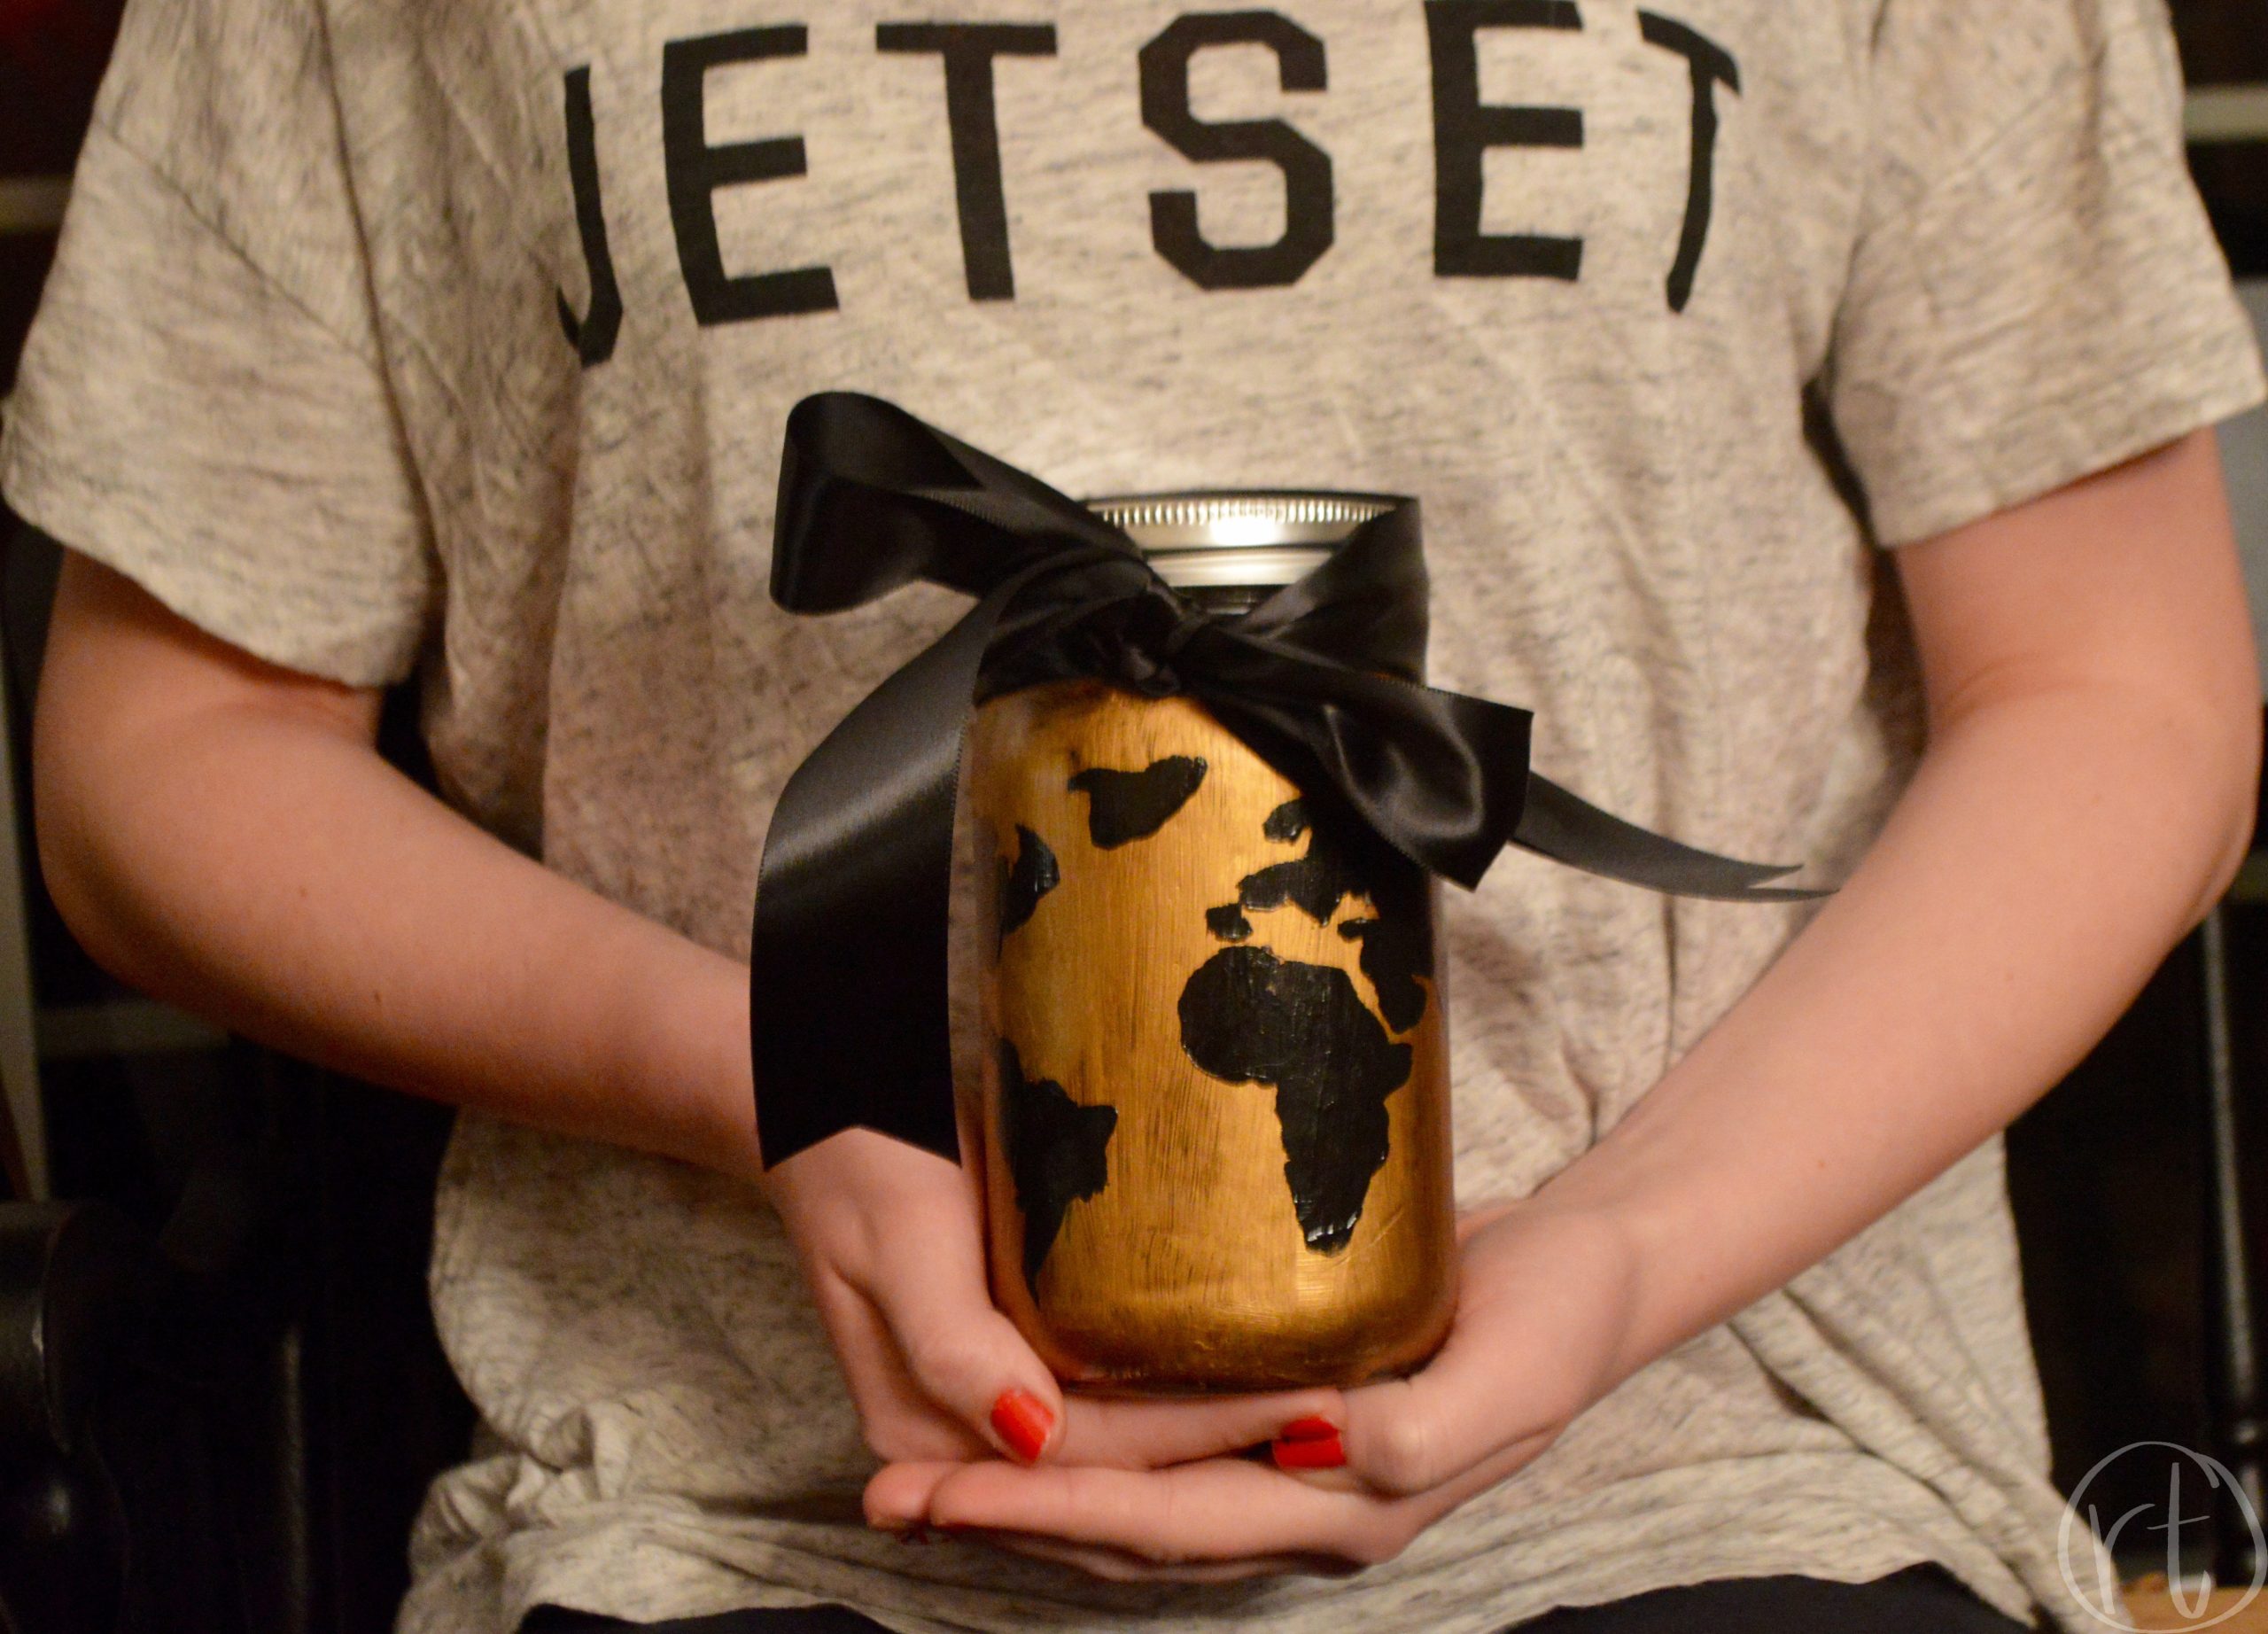 Saving money may not always be fun, but with this DIY travel mason jar, at least it will be cute and will remind you of where you’re headed.
Tell me all about your craft on Instagram:


This is a great way to motivate me to save money ! Great blog Kristen, I loved reading it !
Yes, yes! So glad I could be of help and I always look forward to your posts! And you’re too sweet to spell my name correctly–the “en” happens a lot haha 🙂
*kristin
This is super cute! I have a mason jar that my travel money goes in and then when it’s full we take it to the bank. It’s not nearly this cute though! Thanks for sharing!
Mason jars just make everything better and cuter! And that’s a fact! Thanks for stopping by Paige. Hope those dollars and cents send you somewhere grand 🙂
Thank you! I’m actually heading to Iceland in two weeks and in September my husband and I are taking off for a minimum of 8 months! I’m hoping our jar fills up a lot over the next few months. Haha